How To Hang
Wallpaper Borders
With so many beautiful wallpaper borders available, you should be able to find a design that complements the existing decor of the space you would like to freshen up. Installing a wallpaper border is a simple and an inexpensive way of freshening up the look of any room.

Application Method
- Determine if your border is pre-pasted or unpasted, and follow the manufacturer’s instructions for how to activate or apply the adhesive.
- Make sure the surface you are applying the border to is clean and smooth. If you’re installing a wallpaper border over existing wallpaper, you’ll get the best results using a vinyl-to-vinyl adhesive.
- If you’re applying a border over painted walls: Lightly sand the border wall area before applying the border, as this will improve the strength of adherence.
Measure & Cut
- Measure the length of your first wall and cut a strip of wallpaper border 2 inches/50mm longer, to allow for a little overlap on each end.
- The easiest way to handle the pasted border is to gently fold the border accordion/concertina style, taking care not to crease the folded areas.
Hang Your First Strip
- When you’re ready to hang your first length of border, it is important to decide on the best location to start. To hide any mismatched seams it is best to start in an inconspicuous place, such as behind the door used to enter the room.
- To install the border perfectly, use a spirit level and draw a light pencil line around the room at the desired height.

Top of Wall Border
Start in the corner and follow the ceiling around the room allowing a 1 inch/ 25mm overlap for the corners. Fix and smooth the border using a smoothing brush as you go. Clean off any excess paste with a damp cloth or sponge.
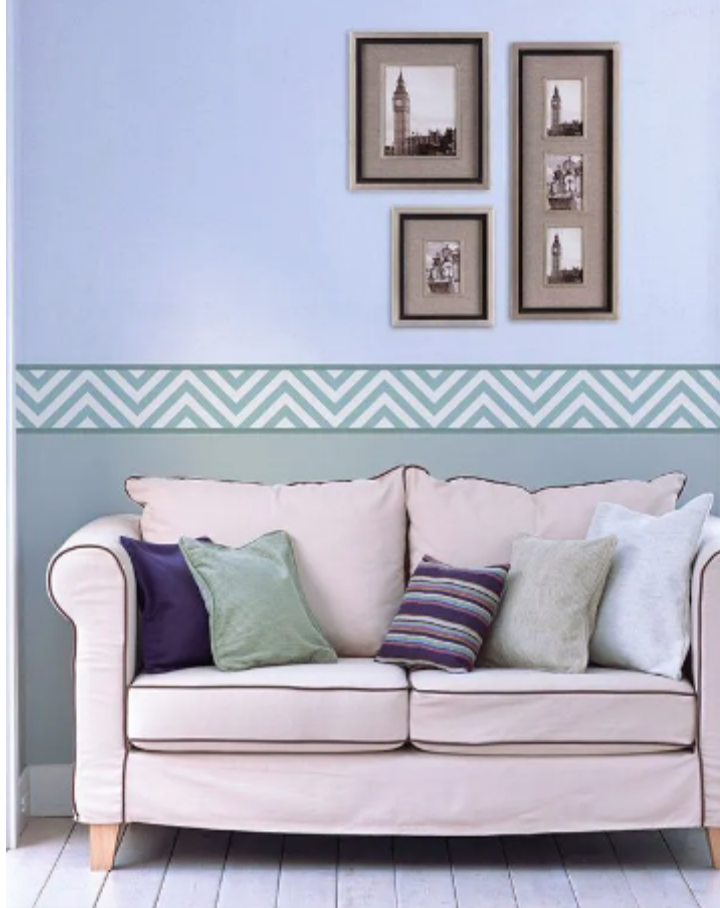
Middle of Wall Border
A border at this height was originally called a Dado or chair rail border. Start by using a spirit level and a pencil to mark a faint line around the room at the desired height. Of course, you only need to mark a line for the location of either the top or the bottom of the border.

Window or Door Border
When hanging a border around a door or window, overlap both the horizontal and vertical strips in the corner.
Use a utility knife to cut through both pieces on a 45° angle from the corner. Remove the excess paper. Smooth the seams and remove any excess paste.
Hanging Additional Strips
- Measure and cut the next border strip at a point where you can easily match the pattern to the previous strip, again allowing for a 1inch/ 25mm overlap at each corner.
- When you have hung the border, cut through the overlap with a utility knife, using a straight edge (putty knife or wallpaper edge trimmer) as a guide, and remove the excess paper.
- Use a seam roller to flatten the seams and create a perfect Butt joint.
- Clean off any excess paste with a damp cloth or sponge.
If your room is looking really tired and a wallpaper border alone will not suffice, then there is another way for you to create a whole new look with wallpaper, without the cost of hiring a professional wallpaper installer.

Use WallpaperBuddy™, it is a brand new tool that allows for an easier and very efficient method of hanging wallpaper by yourself.
We hope you found this article helpful, and we would appreciate it very much if you shared it with someone else you feel might benefit from it.
For more wallpapering hints and tips, check out our How To guides: