Expert Tips On How To
Paint A Window Frame
Clean and well painted window frames can have a big impact on the overall appearance of any room, so it’s worth a little extra time and effort to achieve a great result.
Should I use Primer on the Window Frame?
For unfinished trim, yes. For previously painted trim it depends on its condition, whether any wood is exposed after sanding, or a filler was used to repair cracks or holes? In these instances, it is recommended sealing the surface with a layer of primer.
What is the Best Paint for Window Frames?
Glossy paints provide a better looking finish, their durable finish actually repels dirt and grime, coupled with the fact that they are easier to clean, it is no surprise that they are the preferred choice. Having said all of this, the type of paint needs to be matched to the material your frame is made from!
A variety of materials are used, aluminium, steel, vinyl and of course wood. Choosing a paint that is compatible with the material type, will produce the best results.
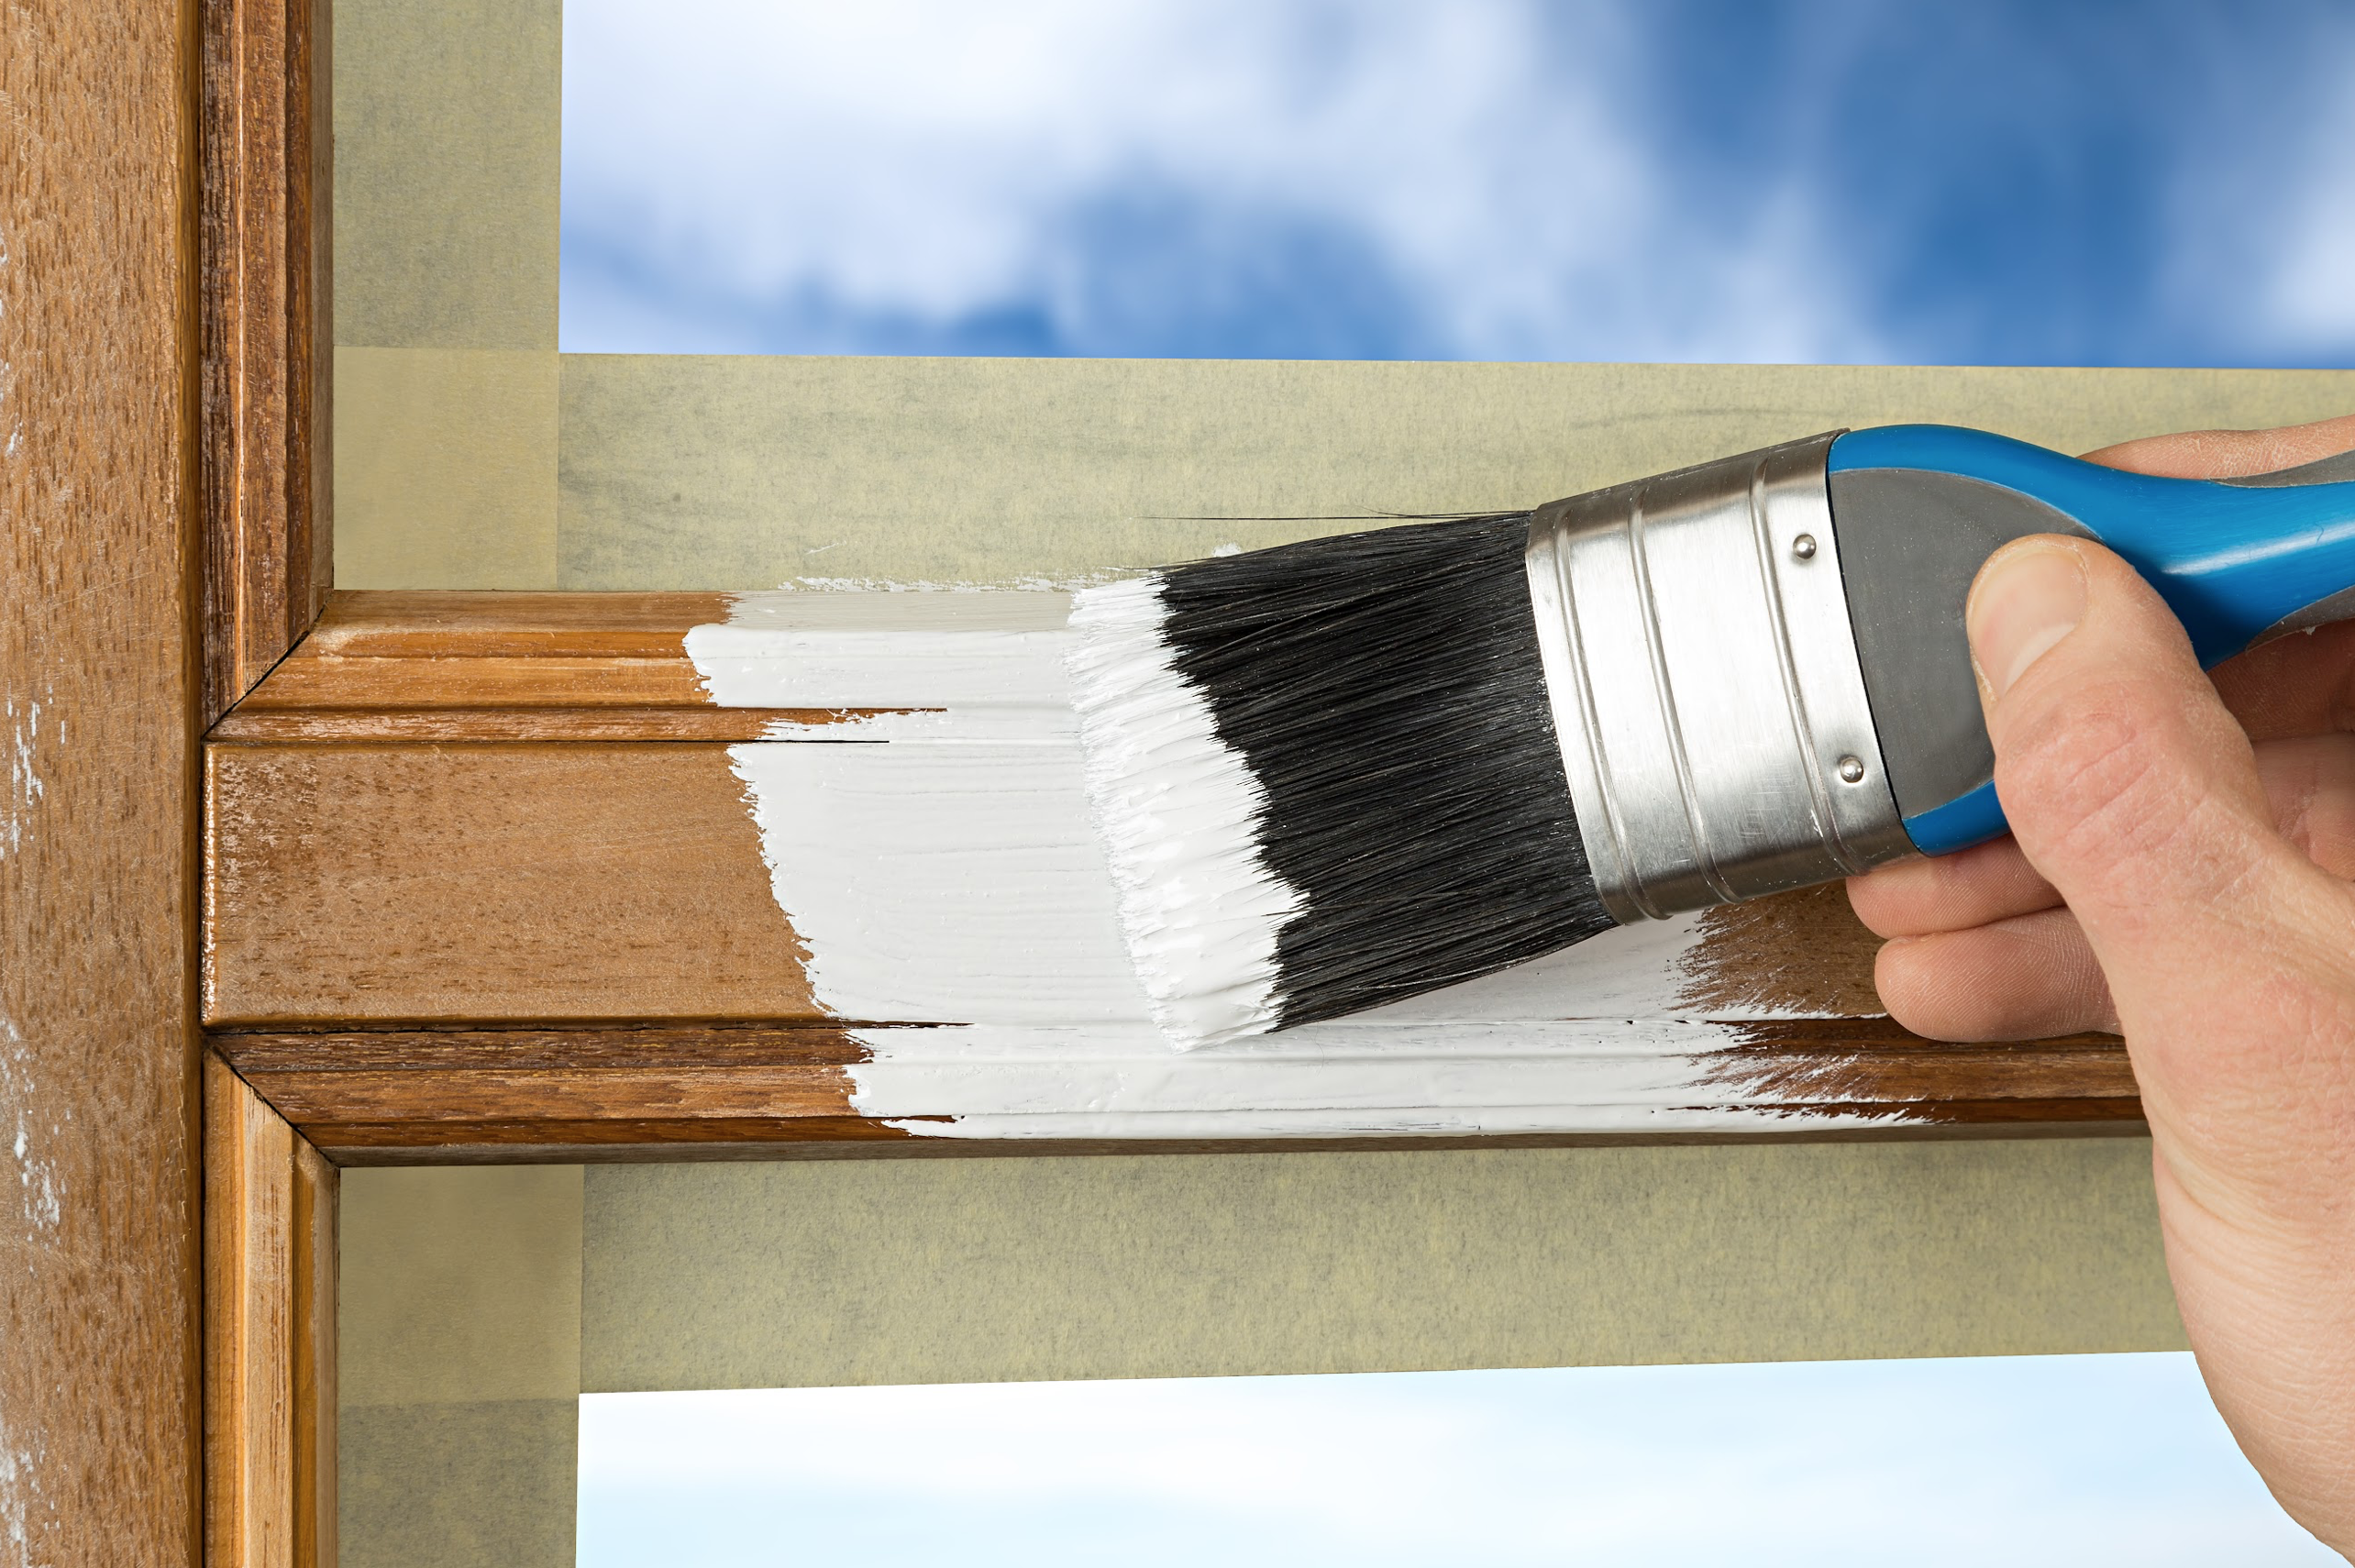
What Brush Should I Use?
An Angled Sash Brush – Most window frames aren’t very wide, so a narrow brush will work well and it will also be easier to control than a wider brush. The angled bristles of a sash brush are designed to neatly paint in tight corners.

How to Prepare Window Frames for Painting?
The following steps will help you create a finish even a professional would be proud of.
1. Remove Hardened Caulking
As time goes by, caulking, the semisolid sealant around the edges of the frame becomes brittle and will start to seperate from the trim. The caulking very often needs to be replaced. With new windows, you shouldn’t have this problem.
2. Scrape Off any Peeling Paint
Using a paint scraper, remove any peeling paint from the trim, taking care not to apply to much pressure and damage the trim.
3. Sand the Surfaces
It is practical to begin with a150-grit sandpaper to remove any loose edges of paint and then using a finer grade, 220-grit, to create a perfectly smooth surface to receive the paint. When sanding window trim take care not to scratch the glass.
4. Repair And Dents Or Cracks
Fill any holes, dents and cracks with wood filler (spackling) using a putty knife. Once the filler has dried completely, lightly sand over the filler until it is level with the surrounding area.
5. Cleaning Time
Wipe down any dust from sanding, from the trim and surrounding areas.
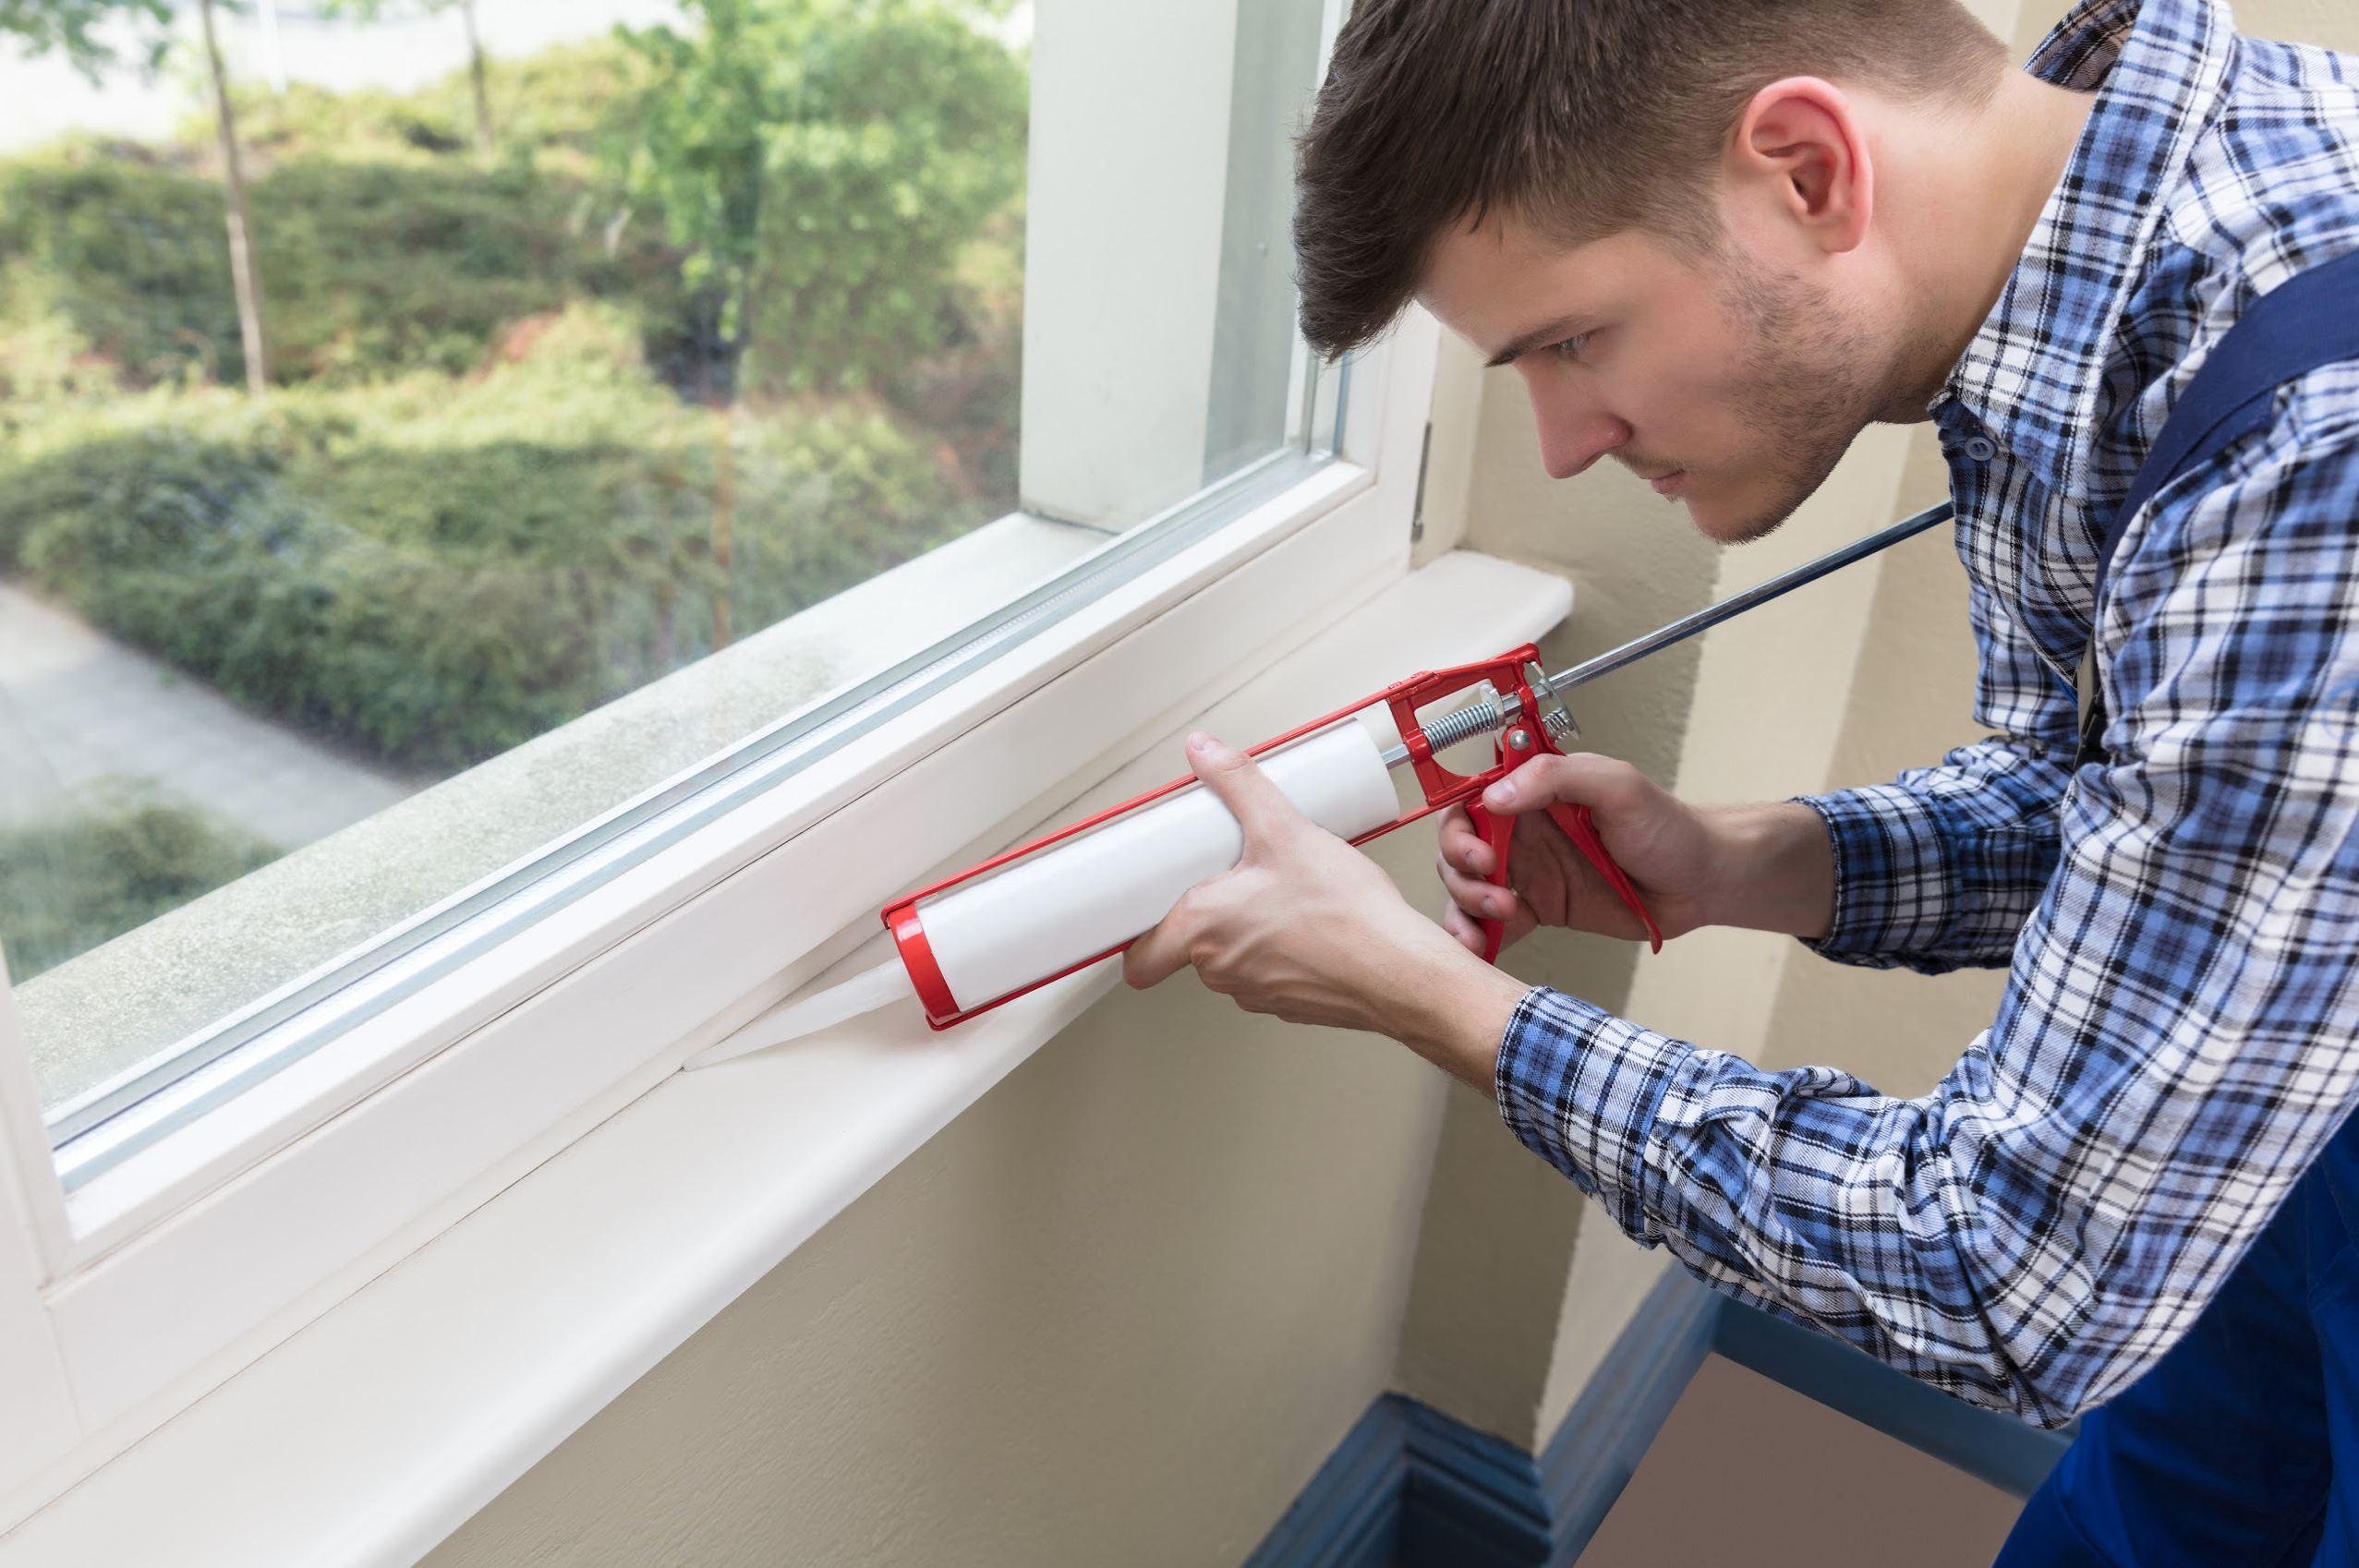
6. Apply New Caulk
Apply fresh caulking in a continuous bead from corner to corner, just thick enough to fill the gap. Smooth over the bead of sealant and remove any excess caulk. Caulk smoothing tools create a nice clean finish and are inexpensive.
A “skin” will develop on the surface of the caulk even before it has fully hardened, but underneath it may still be unstable, and should therefore be left to dry for at least 24 hours.
7. Protect the Surrounding Surfaces
Apply painter’s tape to protect the glass panes and adjacent walls.
Where to Start Painting my Window Frame
1. Start in the upper inside corners and work downwards making long continuous strokes.
2. Paint will inevitably get on the face of the trim, so painting the inside surfaces first and then the face of the trim next, is the best approach.
3. Lastly, it’s time to paint the sill.
Tips:
1. To avoid the paint gluing your windows shut, leave the windows slightly open whilst the paint dries.
2. If you get any excess paint on the glass, it is simple to remove by scoring the paint adjacent to the frame, and then scraping the excess off with a fine bladed scraper.
We hope you found this article helpful, and we would appreciate it very much if you shared it with someone else you feel might benefit from it.
If you need some more help with painting and decorating, try these:
Wallpapering Is Made Easy With WallpaperBuddy™
How To Prep Doors And Trim For Painting